How to Remove Solid Stain From a Deck Before Refinishing
Solid stain can make an older deck look clean and uniform when it is applied correctly. It covers uneven color, helps hide cosmetic imperfections, and gives the surface a consistent finish.
But when solid stain starts to fail, it can become one of the most difficult coatings to deal with.
Peeling, flaking, cracking, patchy wear, shiny buildup, and stubborn pigment can all create problems before refinishing. For contractors, removing solid stain is not just about making the deck look better. It is about creating a stable surface so the next stain system has a better chance of performing correctly.
If solid stain is failing, built up, or incompatible with the next finish, it usually needs to be removed before refinishing.
Why Solid Stain Is Harder to Remove
Solid stain behaves differently than more transparent penetrating stains. Instead of simply enhancing the wood grain, solid stain provides heavier pigment and more coverage. Depending on the product, it may sit closer to the surface and behave more like a coating.
That heavier coverage is useful when the deck needs a uniform appearance, but it can create problems later.
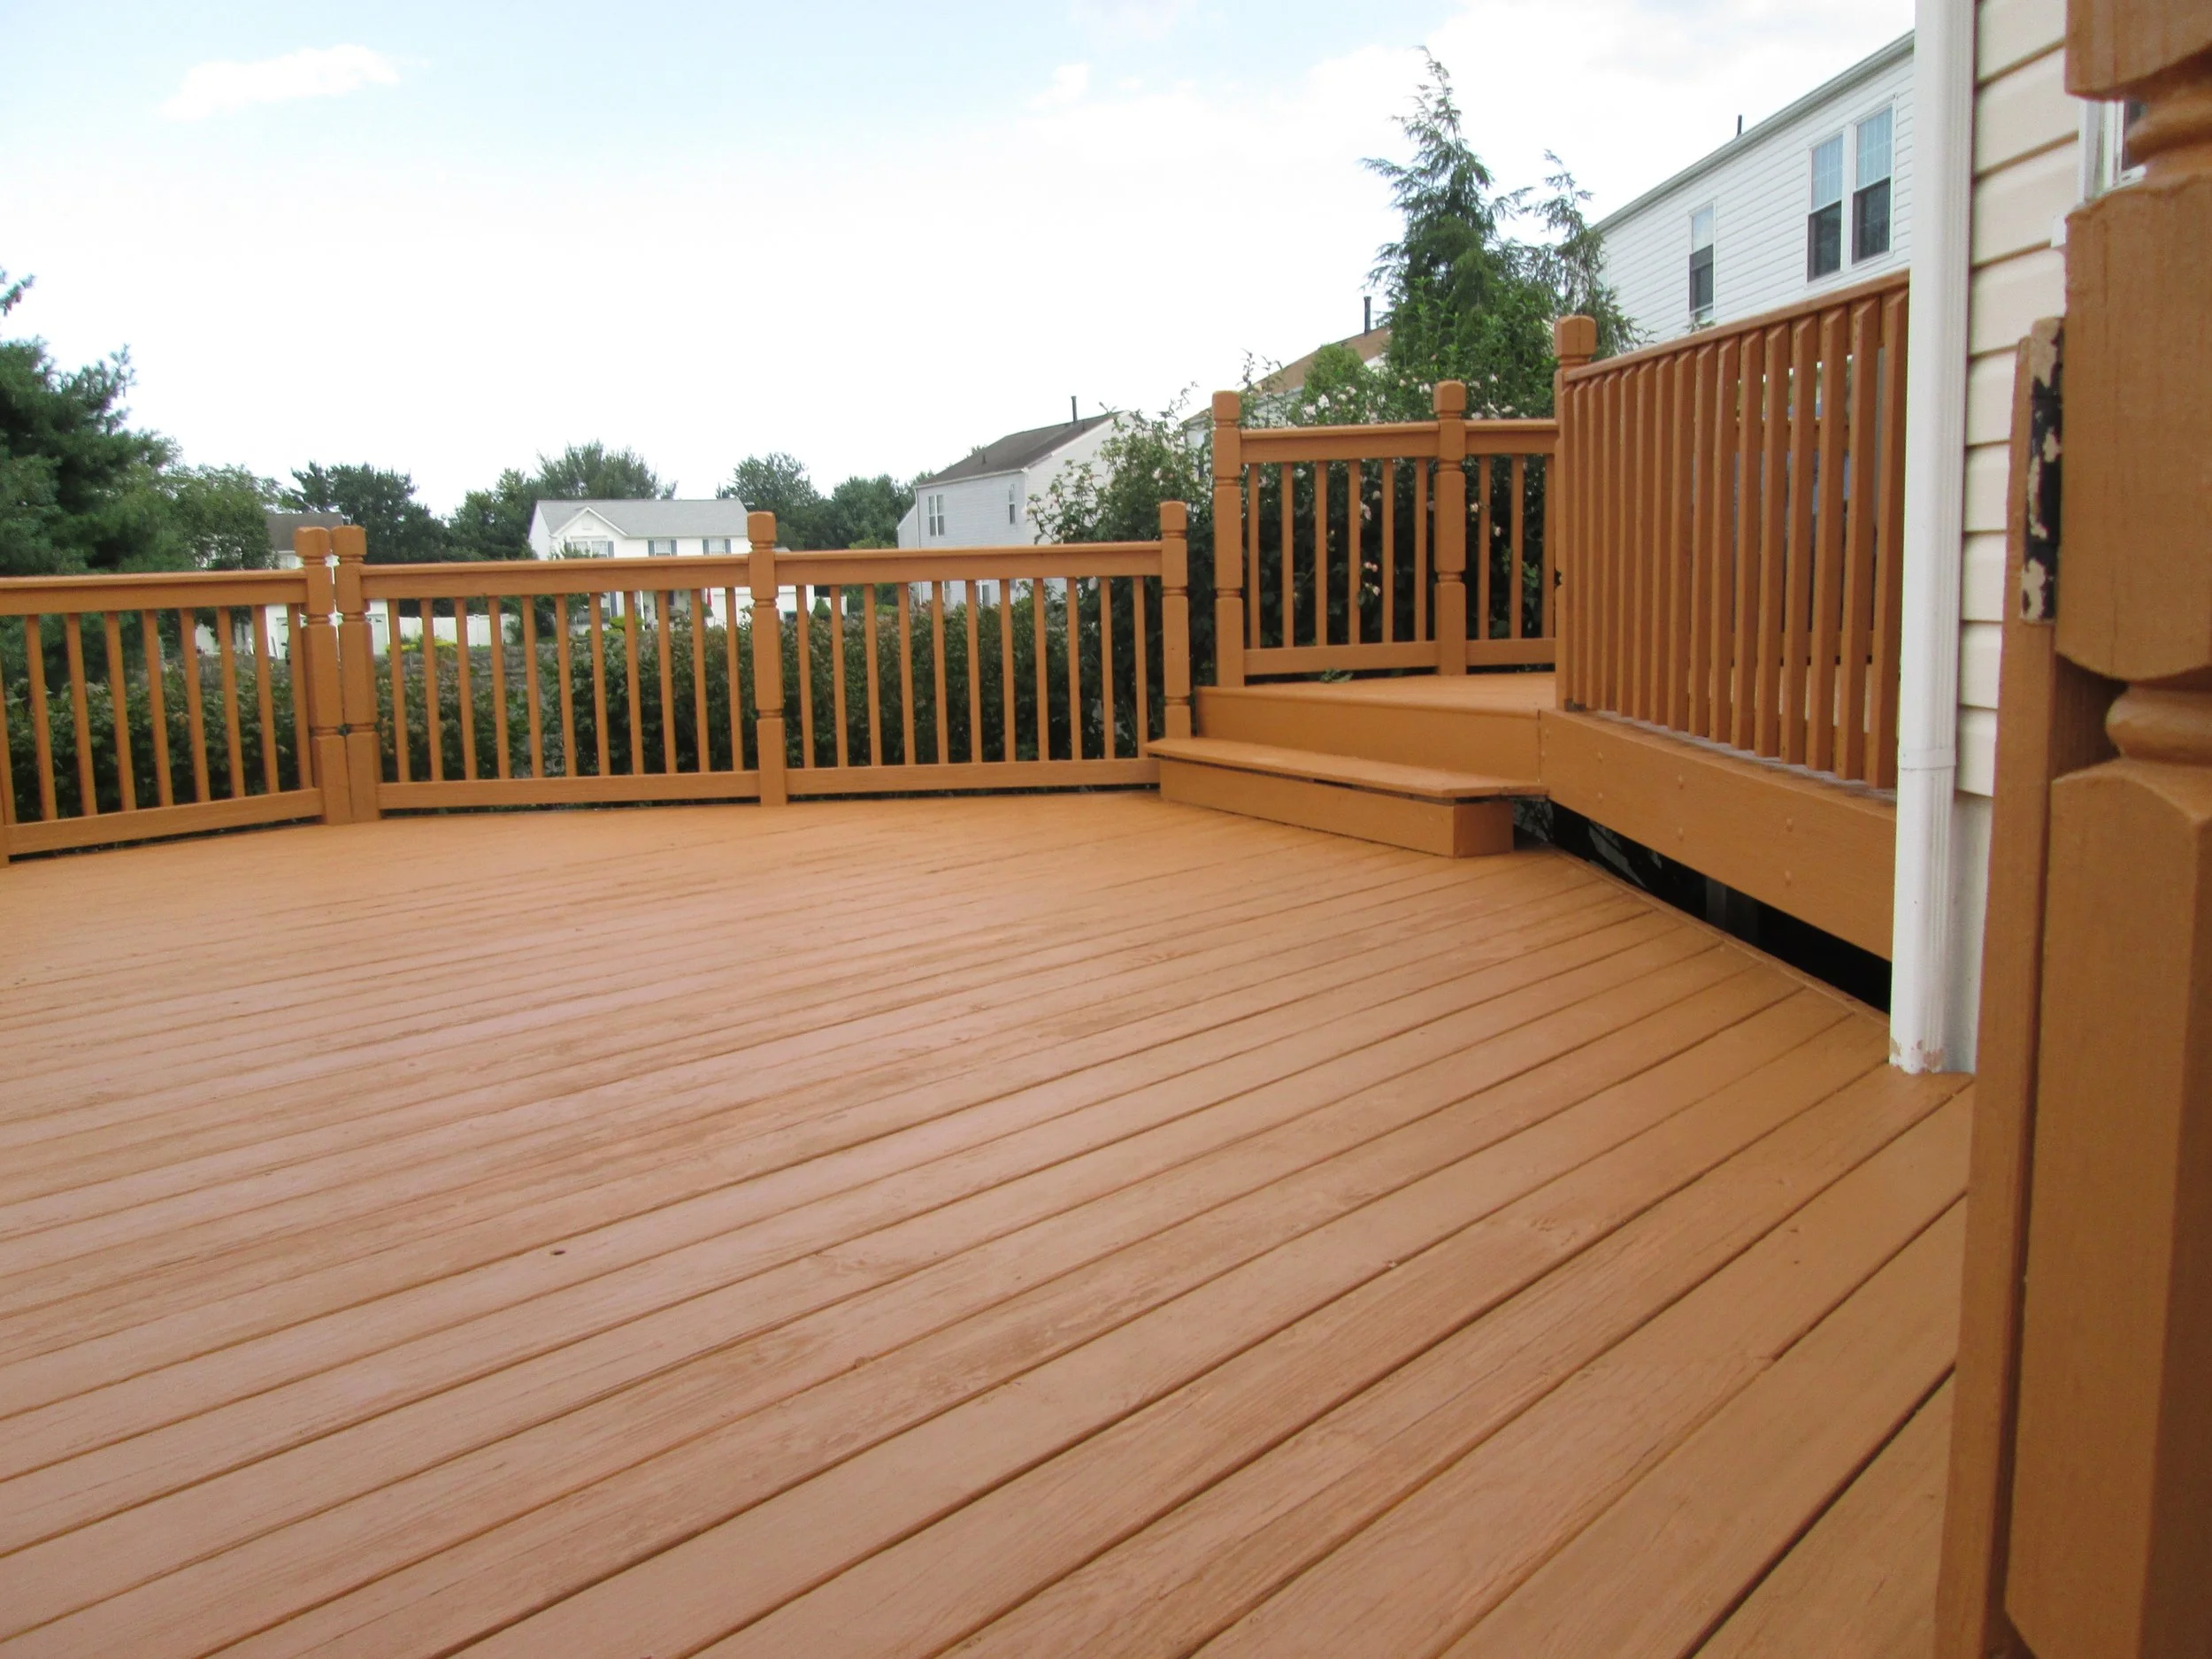
When solid stain fails, it often fails unevenly. Some areas may peel down to bare wood. Other areas may remain tightly bonded. Shaded sections may hold coating longer, while sun-exposed boards may break down faster. Railings may still look intact while the deck floor is badly worn.
This uneven failure makes refinishing more complicated. If new stain is applied over the old coating without proper prep, the final result can be blotchy, unstable, and more likely to fail early.
Start by Inspecting the Existing Coating
Before removing solid stain, inspect the entire deck. Do not assume every section is in the same condition.
Look closely at the deck floor, stairs, railings, posts, benches, built-ins, and areas near the house. Check for peeling, bubbling, cracking, shiny spots, soft boards, heavy buildup, mildew, and areas where water still beads on the surface.
A water test can help show whether the old coating is still blocking absorption. If water soaks into some boards but beads on others, the surface is inconsistent.
That inconsistency needs to be corrected before refinishing.
Decide Whether the Deck Is Worth Restoring
Before investing time in coating removal, confirm that the deck is structurally sound enough to restore.
Solid stain can hide problems. Boards may look coated but still be soft, cracked, cupped, or deteriorated underneath. Railings, stairs, and framing should be checked before the project moves forward.
If the deck has widespread rot, unsafe stairs, unstable railings, or major structural issues, repair or replacement may need to happen before refinishing.
Stripping and staining should improve a sound deck. They should not be used to cover unsafe wood.
Clean the Surface Before Heavy Prep
In many cases, the deck should be cleared of loose debris, dirt, leaves, and organic buildup before the main stripping process begins.
This helps expose the actual coating condition and prevents surface contamination from interfering with the prep work.
Contractors should also protect nearby siding, landscaping, hardscapes, metal fixtures, and painted surfaces according to the product directions and jobsite conditions.
Good site preparation matters, especially when working with stronger coating removal products.
Use a Deck Stripper for Solid Stain Removal
A deck stripper is typically needed when solid stain is peeling, built up, or bonded too strongly for basic cleaning to remove.
The stripper is applied to the coated surface and allowed to dwell so it can break down the old finish. The exact application process, dwell time, coverage rate, and rinsing method should always follow the product directions.
Deck Restoration Plus Stripper Plus is designed for tough exterior wood coating removal, including solid stains, sealers, and film-forming finishes. It can be used on decks, fences, log homes, wood siding, and other exterior wood surfaces where old coating needs to be removed before refinishing.
For contractors, a stronger stripper is useful when standard cleaning will not remove the coating effectively.
Manage Dwell Time Carefully
Dwell time matters when removing solid stain.
If the stripper is rinsed too soon, it may not have enough time to break down the coating. If the surface dries out during the process, performance may suffer. Some tough coatings may require additional product, agitation, or a second application.
Solid stain removal is not always a one-pass process. Older coatings, multiple layers, heavy buildup, or unknown stain history can make the job more demanding.
Contractors should evaluate results as they work instead of assuming the first pass will remove everything.
Rinse Thoroughly
After the stripper has done its job, the surface needs to be rinsed thoroughly. The goal is to remove loosened coating, residue, and stripping material from the wood.
Rinsing should be strong enough to clear the surface, but controlled enough to avoid damaging the wood fibers. Too much pressure can scar boards, raise grain, or leave wand marks that require extra sanding.
Pay attention to gaps between boards, corners, railings, stair edges, and areas where residue can collect.
A poorly rinsed surface can interfere with the next prep steps and the final stain application.
Expect Some Sanding After Stripping
Even after a good stripping process, sanding may still be necessary.
Solid stain can leave behind stubborn pigment, raised grain, rough fibers, or uneven patches. Sanding helps smooth the surface and remove remaining problem areas before refinishing.
This is especially important on horizontal deck boards, handrails, steps, and areas where the customer will see or touch the finished wood.
Contractors should treat sanding as part of the restoration process, not as a failure of the stripper. Tough coating removal often requires both chemical and mechanical preparation.
Brighten or Neutralize if Needed
Depending on the prep products used and the condition of the wood, a brightening or neutralizing step may be needed after stripping.
This can help balance the wood tone, reduce darkening, and prepare the surface for staining. It can be especially helpful if the final finish will be transparent or semi-transparent, where the underlying wood color will remain visible.
However, every product system is different. Contractors should follow the directions for the stripper and stain system being used.
Let the Deck Dry Properly
Do not rush into staining after removing solid stain.
The deck needs time to dry properly before a new finish is applied. Moisture trapped in the wood can affect stain absorption, bonding, color, and long-term performance.
Drying time depends on weather, humidity, wood type, sun exposure, airflow, and how much water was used during rinsing.
Contractors should verify that the wood is ready before staining rather than relying only on the calendar.
Choose the Next Stain Based on the Real Wood Condition
Once the solid stain is removed, the actual condition of the wood becomes clearer.
Some decks may be good candidates for semi-transparent or semi-solid stain after proper prep. Others may still require a more opaque finish because of deep discoloration, board age, previous coating history, or uneven repairs.
The new stain should be chosen based on what the wood looks like after stripping, sanding, and cleaning—not based only on the homeowner’s original preference.
This is an important expectation-setting point for contractors. Removing solid stain does not always mean the deck will look like new wood underneath.
Set Customer Expectations Before the Job Starts
Solid stain removal can be labor-intensive. Results depend on the coating type, number of layers, age of the deck, wood condition, previous prep history, and how deeply pigment has bonded to the surface.
Customers should understand that some projects may require multiple prep steps. Some pigment may remain in deeper grain or difficult areas. Repairs or board replacement may become more visible once the coating is removed.
Clear communication helps prevent misunderstandings.
Explain that the purpose of stripping is to remove failed coating and create a better surface for refinishing. It is not always a guarantee that old, weathered wood will return to a brand-new appearance.
Do Not Restain Over Failed Solid Stain
The biggest mistake is applying new stain over failed solid stain and hoping it holds.
If the old coating is peeling or unstable, the new finish can fail with it. If the old coating blocks absorption, the new stain can sit unevenly on the surface. If the deck has multiple layers of buildup, another coat can make future maintenance even harder.
Removing the failed coating first is often the difference between a professional refinishing job and a short-term cover-up.
Build a Better Refinishing Job With Better Prep
Removing solid stain from a deck takes the right process. The surface needs to be inspected, stripped, rinsed, sanded if needed, dried properly, and matched with the right next stain system.
Deck Restoration Plus Stripper Plus is designed to help remove tough exterior wood coatings, including solid stains, sealers, and film-forming finishes, so the surface can be prepared for refinishing.
Deck and Wood Stain provides exterior wood care products, prep solutions, stains, strippers, and restoration guidance for contractors and serious DIYers who want better results on decks, fences, siding, log homes, and other outdoor wood projects.
Before refinishing a deck with failed solid stain, remove the coating properly and build the new finish from a clean, stable surface.